Health Checks:
To verify the state of an application .net provides health checks as a middleware configuration. Health check reports of an application can be accessed via an endpoint. Health check monitoring scenarios of an application like:
- Health check helps to verify the status of app dependencies like Database, External Service calls, to confirm they work normally.
- Memory and Disk Usage Monitoring.
- Advanced scenarios like monitoring application load balancers
Create A Sample Web API App:
Let's create a sample .Net5 Web API application and do some sample examples to understand the Health Checks. For development, an IDE can be chosen on our personal preference, but the most recommended are Visual Studio 2019(Version 16.8.* supports .Net5) or Visual Studio Code.
Initial Health Check Configurations:
Initially, we need to register the 'AddHealthChecks' service and endpoint to view health reports.
Startup.cs:(ConfigureServices Method)
services.AddHealthChecks();
- The 'AddHealthChecks' service returns an instance of 'IHeathChecksBuilder' from which health checks can be registered(in upcoming steps). This service loads from 'Microsoft.Extensions.Diagnostics.HealthChecks.HealthCheckService'.
app.UseEndpoints(endpoints =>
{
	endpoints.MapHealthChecks("/health");
	endpoints.MapControllers();
});
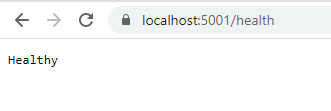
- Configure the '/health' endpoint that returns a report of our app health status.

Types Of Health Check Results:
The 'Microsoft.Extensions.Diagnostics.HealthChecks.HealthCheckReult' returns 3 types of results like
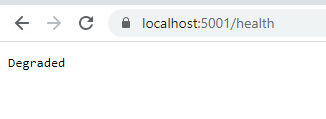
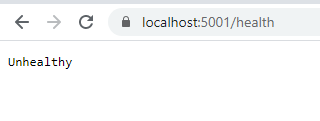
An application health check report generated based on the health check result mentioned above. For suppose if all health checks return 'Healthy' status then our overall report is 'Healthy' and if at least one health check is 'Degraded' then all our final report will be degraded and if at least one health check is 'UnHealthy' then our final report will be 'UnHealthy'. The order of preference will be like 'UnHealthy', 'Degraded', 'Healthy'. We should always try to get a 'Healthy' status for our application.- Healthy(App is in good state)
- Degraded(Not too dangerous but there are issues that need to be fixed)
- UnHealthy(High priority issues to be fixed)
Basic Overview On AddCheck Method:
Based on the application we can implement multiple health checks. Each health check needs to be registered using the overloaded 'AddCheck' method.
Let's register a fake health check that returns the status of 'Healthy'.
Startup.cs:(ConfigureServices Method)
using Microsoft.Extensions.Diagnostics.HealthChecks;

services.AddHealthChecks()
.AddCheck("My Healthy Check", () => {
	return HealthCheckResult.Healthy("My Application Fully Helthy");
})
- In the 'AddCheck' method, the first parameter specifies the name of our health check and the second parameter needs to be 'Microsoft.Extension.Diagnostics.HealthChecks.HealthCheckResult'. So in the second parameter here we just have written our fake logic to return 'Healthy' status.
Startup.cs:(ConfigureServices Method)
services.AddHealthChecks()
.AddCheck("My Healthy Check", () => {
  return HealthCheckResult.Healthy("My Application Fully Helthy");
})
.AddCheck("My Degraded Check", () => {
  return HealthCheckResult.Degraded("My Application in Degraded state");
});
- In our application, if anyone health check that returns 'Degraded' then the overall report will give status as 'Degraded'
Startup.cs:(ConfigureServices Method)
services.AddHealthChecks()
.AddCheck("My Healthy Check", () => {
  return HealthCheckResult.Healthy("My Application Fully Helthy");
})
.AddCheck("My Degraded Check", () => {
  return HealthCheckResult.Degraded("My Application in Degraded state");
})
.AddCheck("My UnHealthy Check", () => {
  return HealthCheckResult.Unhealthy("My Application is in Un Healthy State");
});
- In our application, if anyone health check that returns 'UnHealthy' then the overall report will give status as 'UnHealthy'.
Health Check Using IHealthCheck Interface:
Using the IHealthCheck interface we can create a separate file for the health check.
Let's create an IHealthCheck service to add a fake health check.
HealthChecks/TestHealthCheck.cs:
using System.Threading;
using System.Threading.Tasks;
using Microsoft.Extensions.Diagnostics.HealthChecks;

namespace API.HealthChecks.HealthChecks
{
  public class TestHealthChecks : IHealthCheck
  {
   public async Task<HealthCheckResult> CheckHealthAsync(HealthCheckContext context,
   CancellationToken cancellationToken = default)
   {
    await Task.FromResult(0);
    return HealthCheckResult.Healthy("Im healthy");
   }
  }
}
- Inherits 'IHealthCheck' interface then implement the 'CheckHealthAsync' method where the status of our health return
Startup.cs:
services.AddHealthChecks()
.AddCheck<TestHealthChecks>("My Test Health Check");
Startup.cs:
services.AddHealthChecks()
.AddTypeActivatedCheck<TestHealthChecks>("My Test Health Check",
args: new object[]{"Hello"});
- To pass an arguments to our 'TestHealthChecks' service we need to register using 'AddTypeActivatedCheck<T>' method. The 'args' parameter to pass parameters.
HealthChecks/TestHealthCheck.cs:
public class TestHealthChecks : IHealthCheck
{
  public TestHealthChecks(string message)
  {
  }
  // code hidden for display purpose
}
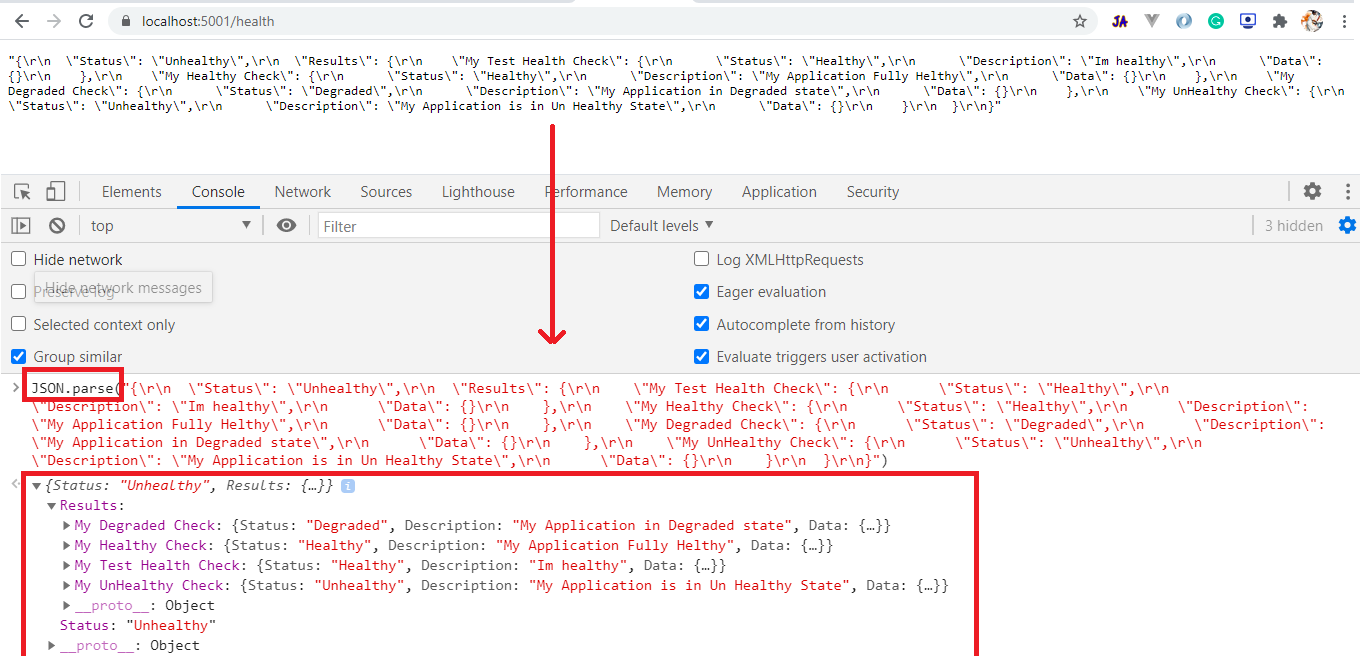
Customized JSON String Response:
Till now our health check report delivering us a simple string as a response of status. It is also delivering the overall status output there is no extra information about each individual health checks status. So to get full health checks to report with detailed information on each health check we need to customize our health check endpoint response.
Package Manager:
Install-Package Newtonsoft.Json
.Net CLI
dotnet add package Newtonsoft.Json
Now let's add our logic to customize the health check response as below.Startup.cs:
private static async Task WriteResponse(HttpContext context, HealthReport report)
{
  context.Response.ContentType = "application/json";

  var json = new JObject(
	new JProperty("Status", report.Status.ToString()),
	new JProperty("Results",
	new JObject(report.Entries.Select(pair =>
	  new JProperty(pair.Key, new JObject(
	   new JProperty("Status", pair.Value.Status.ToString()),
	   new JProperty("Description", pair.Value.Description),
	   new JProperty("Data", new JObject(
		  pair.Value.Data.Select(p => new JProperty(p.Key, p.Value))
	   ))
	  ))
	  ))
	)
  );
  await context.Response.WriteAsJsonAsync(json.ToString(Formatting.Indented));
}
- This method returns our full detailed health report as a JSON string. This method takes input parameters like 'HttpContext' and 'HealthReport'.
- (Line: 6) Creating a top-level property 'Status' whose value is the overall status of our application.
- (Line: 7) Creating a top-level property 'Result' whose value is the object that contains each health check name as its property.
- (Line: 8) The 'report.Entries.Select' fetches each health check and signs its names as property to 'Results' property.
- (Line: 10) Fetches status of each individual health check status.
- (Line: 11) Fetches description give along with the health check status.
- (Line: 12) Fetches any other extra information we want to return.
Startup.cs:
app.UseEndpoints(endpoints =>
{
  endpoints.MapHealthChecks("/health", new HealthCheckOptions(){
   ResponseWriter = WriteResponse
  });
  endpoints.MapControllers();
});
Entity Framework To Test Database Health Check:
Now it is very easy to add health checks for our database connection using entity framework core.
Package Manager:
Install-Package Microsoft.Extensions.Diagnostics.HealthChecks.EntityFrameworkCore
.Net CLI:
dotnet add package Microsoft.Extensions.Diagnostics.HealthChecks.EntityFrameworkCore
Now register entity framework core health check as below.Startup.cs:
services.AddHealthChecks()
.AddDbContextCheck<MyWorldDbContext>("My World Db Health Check");
- Here 'MyWorldDbContext' is my application DbContext for this context we registered health checks using the 'AddDbContextCheck' method.


External API Health Checks:
Let's implement logic to monitoring health checks of external API calls by considering the time it takes to complete the request.
Here I'm not showing a detailed implementation of HttpClient, click here for the Typed HttpClient Approach.
Let's create a new health checks service for external API monitoring.
HealthChecks/ApiHealthCheck:
using System.Diagnostics;
using System.Threading;
using System.Threading.Tasks;
using API.HealthChecks.Clients;
using Microsoft.AspNetCore.Http;
using Microsoft.Extensions.Diagnostics.HealthChecks;

namespace API.HealthChecks.HealthChecks
{
  public class ApiHealthCheck : IHealthCheck
  {
   private readonly JsonPlaceHolderClient _jsonPlace;
   public ApiHealthCheck(JsonPlaceHolderClient jsonPlace)
   {
	_jsonPlace = jsonPlace;
   }
   public async Task<HealthCheckResult> CheckHealthAsync(HealthCheckContext context, CancellationToken cancellationToken = default)
   {
	Stopwatch stopWatch = new Stopwatch();
	stopWatch.Start();
	 await _jsonPlace.GetTodos();
	stopWatch.Stop();
	var time = stopWatch.Elapsed.Milliseconds;
	if (time < 350)
	{
	 return HealthCheckResult.Healthy($"Im Healthy {time} ");
	}
	return HealthCheckResult.Unhealthy($"Im Un Healthy {time}");
   }
  }
}
- In this health check service, we are monitoring API time taken to complete the request base on time(example milliseconds) status will either 'Healthy' or 'UnHealthy'. The 'JsonPlaceHolderClient' contains my HttpClient logic.
Startup.cs:
services.AddHealthChecks()
.AddCheck<ApiHealthCheck>("My api health check");

services.AddScoped<ApiHealthCheck>();
- Since we are injecting 'JsonPlaceHolderClient' into the 'ApiHealthCheck' service we need to register it with 'AddScoped'.

Filter Health Checks:
By default health check middleware runs all configure health checks. Having more and more health checks should not cause any performance issue, so to do this better way we can filter health checks and run only the required health checks based on the 'tags' argument and health check endpoint.
The 'tags' argument is a collection string to register with health checks, this collection of string can be utilized in the endpoint whether to run the health check or not. Filtering health checks we need to register multiple health check endpoints.
Now let's update our health checks with the 'tags' argument
Startup.cs:
 services.AddHealthChecks()
.AddCheck<ApiHealthCheck>("My api health check", tags: new[]{"API"})
.AddDbContextCheck<MyWorldDbContext>("My World Db Health Check", tags: new[]{"DB"})
.AddCheck("My Healthy Check", () => {
  return HealthCheckResult.Healthy("My Application Fully Helthy");
},tags: new[]{"fake"})
.AddCheck("My Degraded Check", () => {
  return HealthCheckResult.Degraded("My Application in Degraded state");
},tags: new[]{"fake"})
.AddCheck("My UnHealthy Check", () => {
  return HealthCheckResult.Unhealthy("My Application is in Un Healthy State");
},tags: new[]{"fake"});
- Here we categorized our health checks by giving them tag names like 'API', 'DB', and 'fake'.
Startup.cs:
app.UseEndpoints(endpoints =>
{
  endpoints.MapHealthChecks("/health-fake", new HealthCheckOptions(){
   ResponseWriter = WriteResponse,
   Predicate = (check) => check.Tags.Contains("Fake")
  });
  endpoints.MapHealthChecks("/health-db", new HealthCheckOptions(){
   ResponseWriter = WriteResponse,
   Predicate = (check) => check.Tags.Contains("DB")
  });
  endpoints.MapHealthChecks("/health-api", new HealthCheckOptions(){
   ResponseWriter = WriteResponse,
   Predicate = (check) => check.Tags.Contains("API")
  });
  endpoints.MapControllers();
});
- Here we defined multiple health check endpoints. These endpoints run the health checks that are matched to tags comparison defined inside of the endpoint

Support Me!
Buy Me A Coffee
PayPal Me
Wrapping Up:
Hopefully, I think this article delivered some useful information on Health Checks in .Net5 Application. I love to have your feedback, suggestions, and better techniques in the comment section below.
Comments
Post a Comment