- Implementing Microsoft Account Authentication.
Install Microsoft Account Authentication NuGet Package:
Let's install the required package for Microsoft Account Authentication
Visual Studio 2022:
Install-Package Microsoft.AspNetCore.Authentication.MicrosoftAccount -Version 7.0.4
Visual Studio Code:
dotnet add package Microsoft.AspNetCore.Authentication.MicrosoftAccount --version 7.0.4
Register Our App With Microsoft Azure Portal:
To enable Microsoft authentication to our application, we have to register our app into the Microsoft Azure Portal. So following are steps to resisting the app with the Microsoft portal.
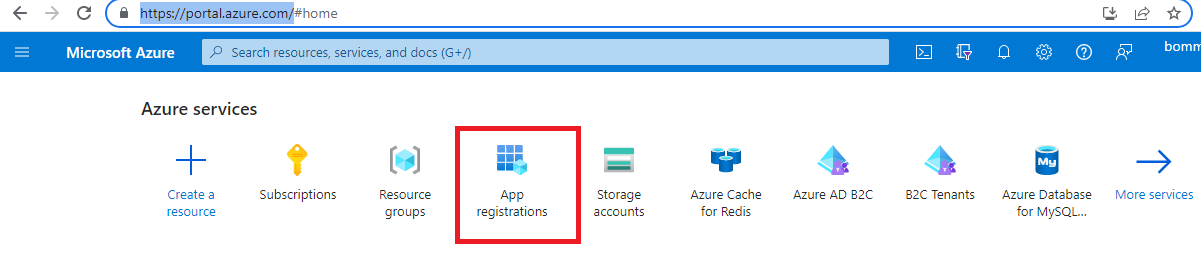
(Step 1)
Go to the Azure Portal 'https://portal.azure.com/'. Then select 'App Registration.'
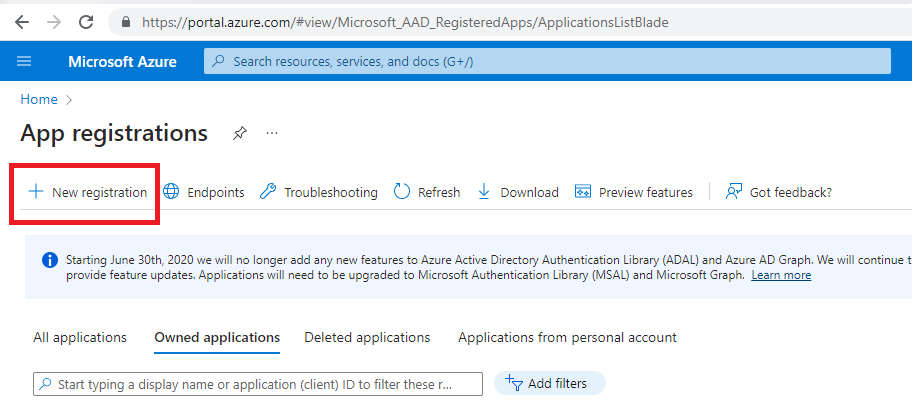
(Step 2)
On the 'App Registration' page, select the 'New registration' button.
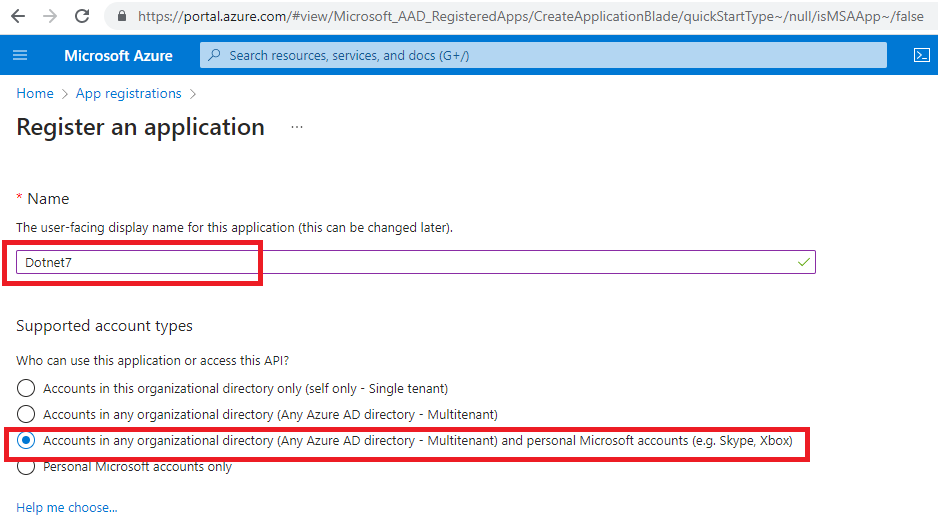
(Step 3)
Provide a 'Display Name' and then choose 'Supported account types'.
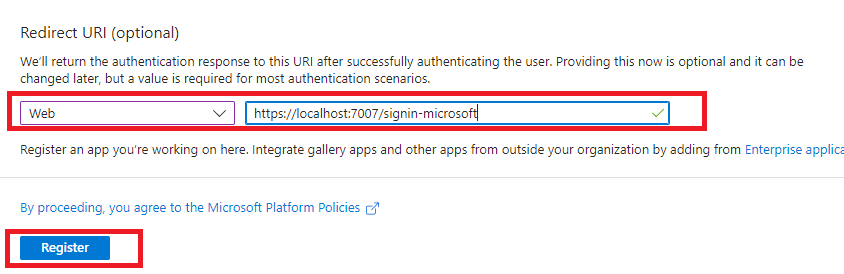
(Step 4)
Select 'Web' Option and then add a redirect URL like '{domain}/signin-microsoft' then finally click on the 'Register' button.
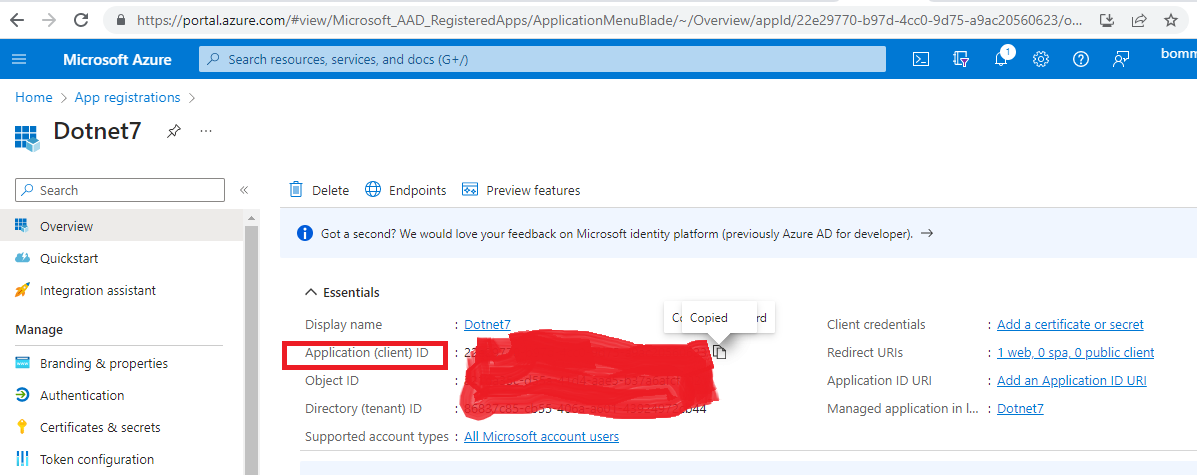
(Step 5)
Once the app registers successfully we can observe a 'Application Id' which we have to use in our API project.
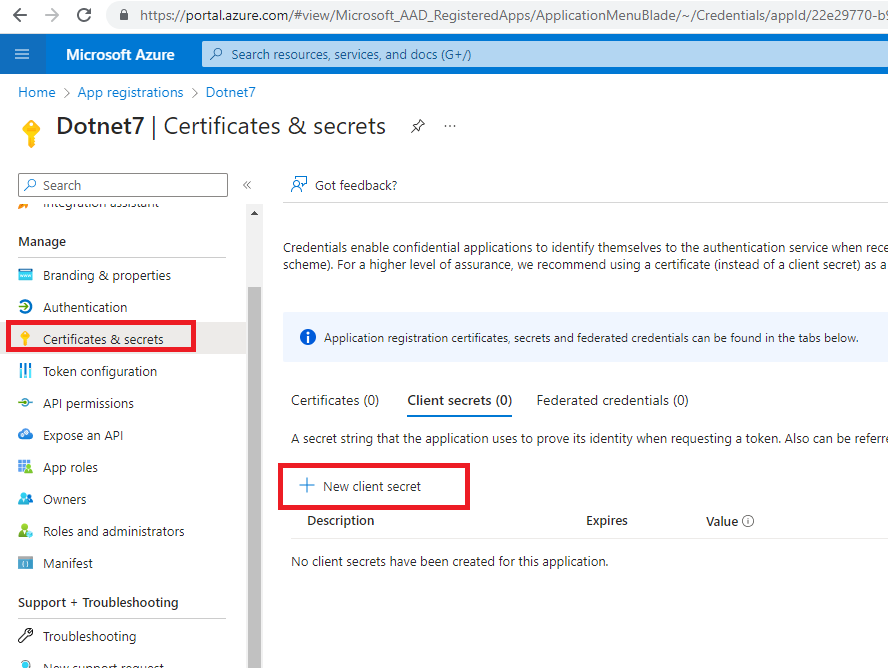
(Step 6)
Select the 'Certificates & Secrets' left side menu and click on the 'New Client Secret' button.
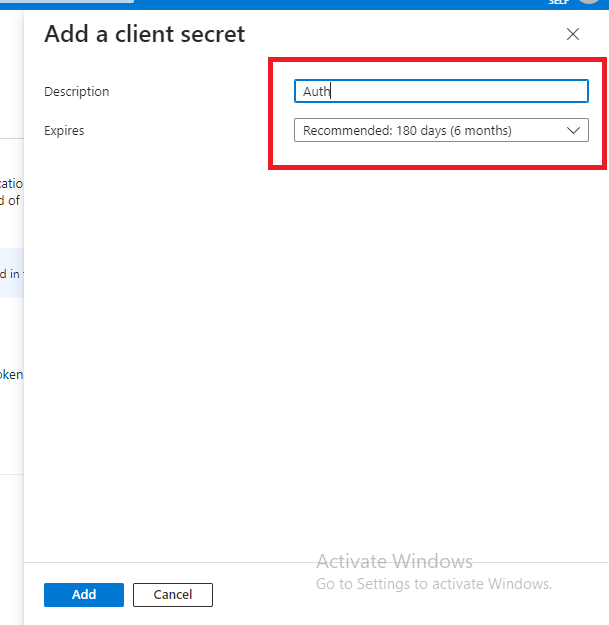
(Step 7)
Now Provide 'Description' and 'Expiration' for our secret key
(Step 8)
Now we have to use the 'Secret Value'(only we can copy one time so please carefully store it) in our API application.

Configure Microsoft Account Settings:
Let's configure Microsoft Account Settings into the 'appsettings.Development.json'.
'appsettings.Development.json':
"MicrosoftAccountSettings":{
 "AppId":"xxxxxxxxxxxxx",
 "AppSecret":"xxxxxxxxx"
}
Register Microsoft Account Authentication Service:
Let's register the Microsoft Account authentication service in the 'Program.cs'.
Program.cs:
builder.Services.AddAuthentication()
.AddMicrosoftAccount(micorosoftOptions => {
    micorosoftOptions.ClientId = builder.Configuration.GetSection("MicrosoftAccountSettings")
.GetValue<string>("AppId");
    micorosoftOptions.ClientSecret =  builder.Configuration.GetSection("MicrosoftAccountSettings")
.GetValue<string>("AppSecret");
});
Test Microsoft Account Authentication Flow:
(Step 1)
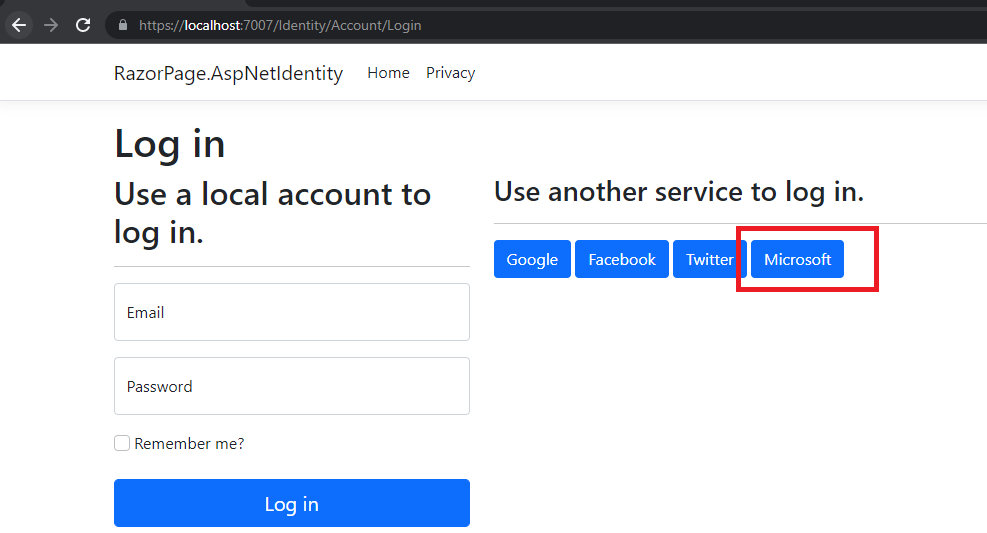
On enabling the Microsoft Account authentication service we can see 'Micosoft' login button on both 'Login' & 'Registration' pages.
(Step 2)
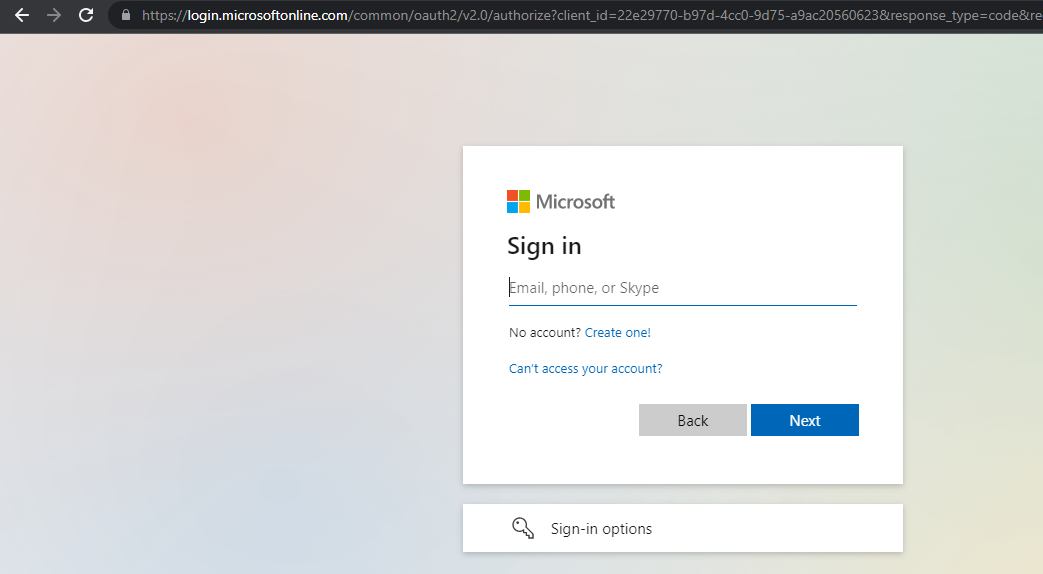
On clicking the 'Microsoft' button we will navigate to the Microsoft login page.
(Step 3)
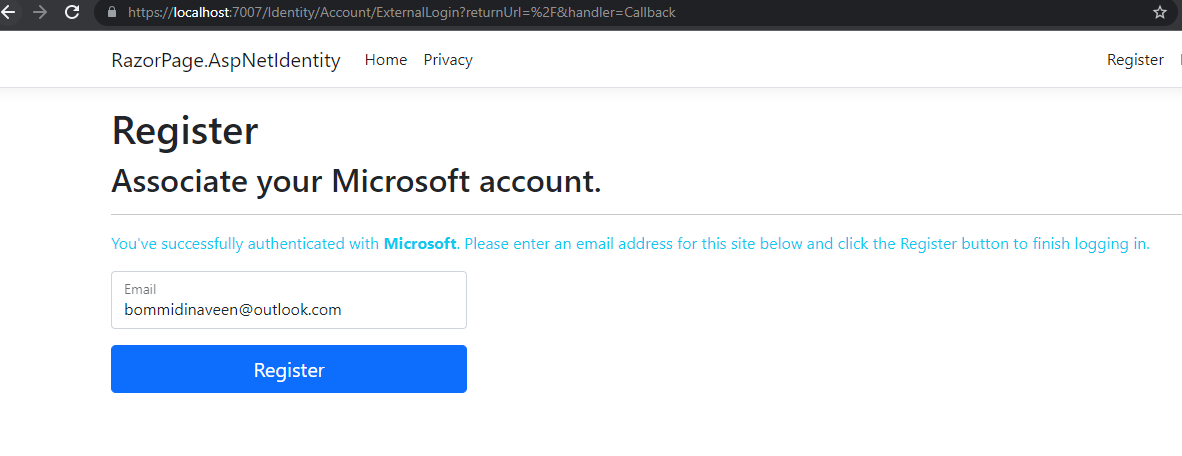
Next, it explicitly asks us to associate an email address with our application.
(Step 4)
On clicking 'Register' button we can observe user information added to the 'AspNetUser' and 'AspNetUserLogin' tables.

(Step 5)
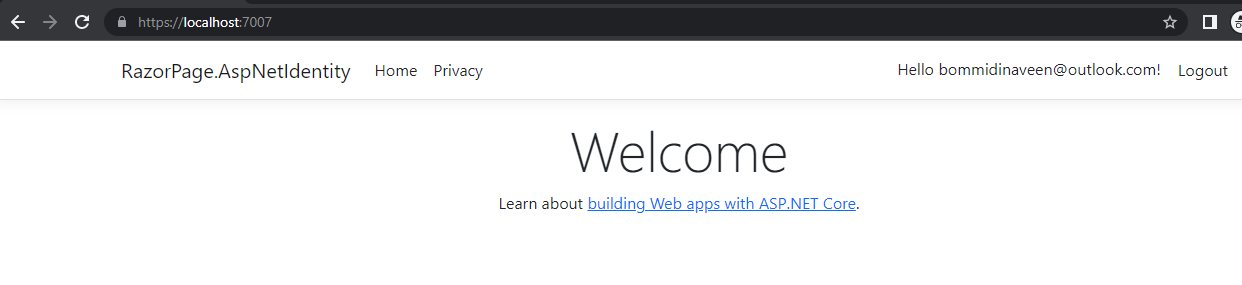
After email confirmation, if we try to login, we can see we get authenticated as below.
Support Me!
Buy Me A Coffee
PayPal Me
Video Session:
Wrapping Up:
Hopefully, I think this article delivered some useful information on the Asp.Net Core Identity In Razor Pages. using I love to have your feedback, suggestions, and better techniques in the comment section below
Refer:
Part-2 | Asp.Net Core Identity Series[.NET 7] | Registration Email Confirmation
Part-3 | Asp.Net Core Identity Series[.NET 7] | Sending Two-Factor Authentication(2FA) Code To Email
Part-3 | Asp.Net Core Identity Series[.NET 7] | Sending Two-Factor Authentication(2FA) Code To Email
Part-4 | Asp.Net Core Identity Series[.NET 7] | Sending Two-Factor Authentication(2FA) Code To Phone
Part - 6 | Asp.Net Core Identity Series[.NET 7] | Facebook Authentication
Part - 7 | Asp.Net Core Identity Series[.NET 7] | Twitter Authentication
Part - 7 | Asp.Net Core Identity Series[.NET 7] | Twitter Authentication
Comments
Post a Comment